
Charlie
Season 1, Episode 3 - April 2024

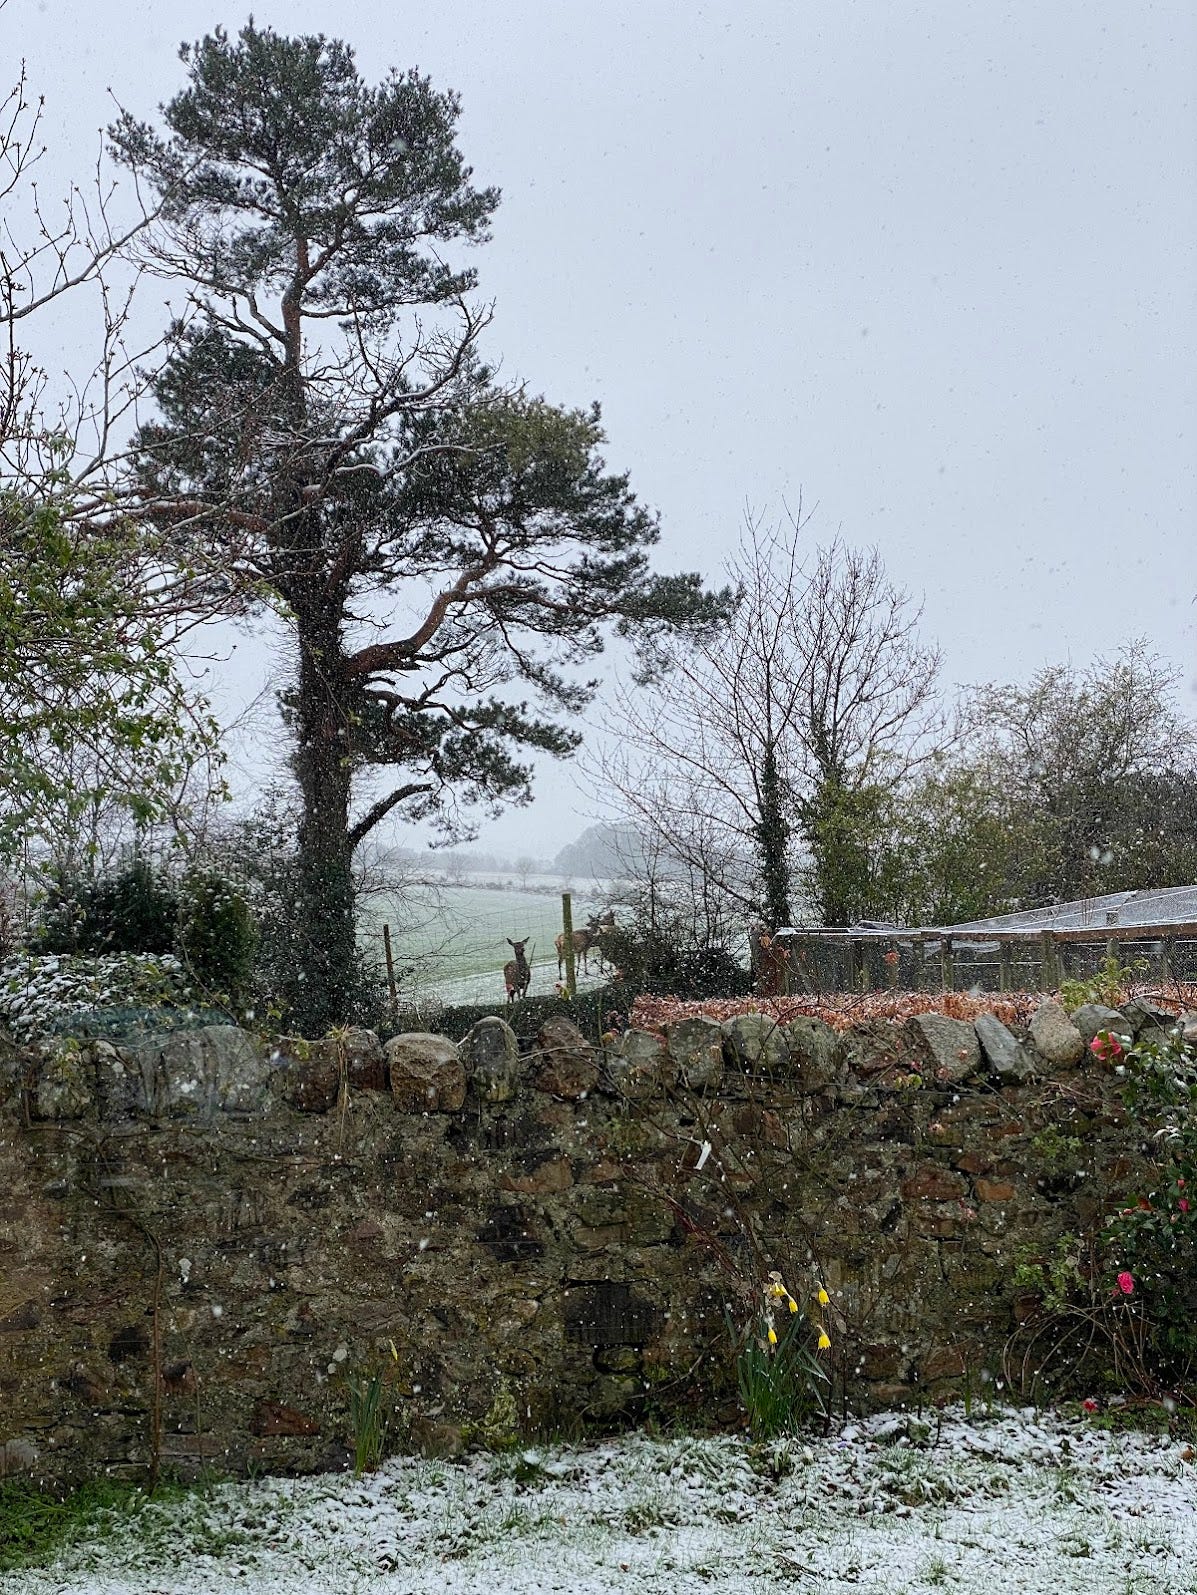
Charlie isn’t Charlie’s real name, but I’ve decided to call him this to protect his identity from the section of my readership that is already bordering on the cult-like (Dougal, I’m looking at you - an article on drainage shouldn’t make anyone’s ‘top read’ list). Anyway, for reasons that would be hard for most to fathom, Charlie chose to wage war against the weeds, with me, for a week. To say neither of us were best pleased with what the weather gods served up to us would be an understatement, I myself having used 4 days of annual leave for this downright odd holiday activity. On days one and two it didn’t stop raining. On day three it snowed (evidence below), and on days four and five the BBC weather app said a moderate breeze was present, which we all know means that there’s a pretty good chance you’ll lose a car door.
Regarding the ‘War on Weeds’, the problem that I was trying to solve is this: “How do you prevent weeds from growing up-through, in-between, around and onto a thousand organic blueberry bushes in a cost-effective, low-maintenance way?”
It proved to be easy to come up with solutions for the timeless, and completely useless scenario of ‘if we were to do it again’. It was more difficult to come up with a solution to the situation that we were actually in, i.e. bushes already established in the ground, and a large quantity of useful weed membrane buried under grass.1
With 6 days to work together and an entire field of blueberry bushes to be revamped, Charlie and I needed a plan. The way I saw it, we had two clear options:
Option 1.
Lay a deep layer of wood chip in a continuous line all the way down each row over the top of the old weed membrane/grass
Pros:
Far quicker than Option 2
I have a lot of wood chip (39 cubic meters, to be precise)
Cons:
Very expensive - completing all 23 rows like this would cost £10,000+
Likely less effective and less permanent than Option 2
Doesn’t utilise the existing weed membrane
Option 2.
Uncover and repair the plastic weed membrane and use wood chip at the base of each bush
Pros:
Probably more permanent and effective than Option 1
Cheaper - requires far less wood chip
Cons:
Extremely slow and very difficult to dig up and rejuvenate old weed membrane.
Despite the fact that Option 1 would be a quick fix, I had doubts as to how well it would work. On the other hand, the prospect of attempting to uncover 2,300m2 of old weed membrane, by hand, was so daunting that it left me in a state of near paralysis. Charlie just started digging. Option 2 it was.
Step 1. Where are my blueberry bushes?
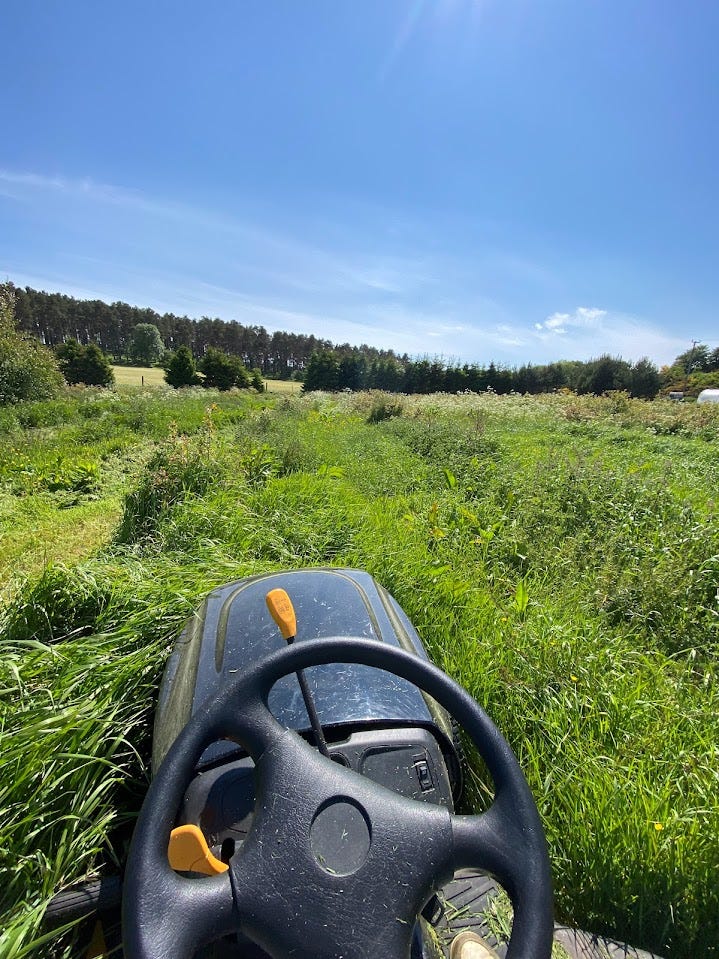
Step 1 was absolutely critical: remind yourself why you have decided to use your holiday allowance to dig up ancient plastic weed membrane. The photo above was taken by me last summer. I’m sitting on the mower, trying to locate my rows of blueberry bushes. I might have been mowing row 23, row 22, or maybe I’m not mowing any of the blueberry rows and I’m actually in a different area entirely.
Step 2. Dig and don’t look up


Step 2 was simple. All we had to do was to remove a decades worth of grass from the top of the plastic weed membrane. Standing bent over, or working on our hands and knees, it took the best part of 3 days to uncover two rows (less than 10% of the field). Charlie’s spirits remained high, provided it didn’t snow.
Step 3. Hold me close


Step 3 was all about weed membrane. We needed to replace one side of plastic all the way up each of the rows we had uncovered. The spare weed membrane on hand was twice the width of what was required. Attempts at halving the width included the use of a hack saw, which I admit was plain stupid, and an attempt at burning our way through the roll with a soldering iron, which also did not work.
We settled on a more environmentally friendly technique: using a pair of scissors, Person 1 would start to cut down the middle of the plastic sheet. Person 2 then goes in for a loving embrace, reaches around both sides of Person 1 and grabs each strip of the newly-halved plastic sheet. Once Person 2 has hold of the two halves and with Person 1 holding the scissors steadily in place, Person 2 walks backwards at speed. This movement unravelled the roll of plastic and pulled it through the scissors at speed... Genius.
Once halved, we pegged the inside edge of the weed membrane into the ground along the sides of the bushes and pushed the outside edge of the weed membrane into the ground.
Step 4. Feed the bushes some digestate & then cover the opening with wood chip


Step 4 involved chucking a load of digestate (a byproduct from the whisky distilleries) down to give the bushes some nutrients and then burying the whole lot in wood chip to prevent weeds coming through. Nothing funny about this - just good old-fashioned farming.
Step 5. Focus

Step 5 is equally as important as Step 1. These days when I walk into the blueberry field I cup my hands around my eyes, walk straight to the rows we’ve completed and pretend the remaining 90% don’t exist. Completing two rows a year, we’ll be nearly finished in 2034 - my calendar’s blocked out for a year of blueberry related celebrations.
On a serious note, the finished product looks pretty good. If I could just sort myself out a nice robot mower to keep things orderly while I’m away, we might start to have a sustainable blueberry operation here. Maybe Husqvarna would let me trade some wood chip for one.
See you next time.
When the blueberry bushes were first planted, they were done so in a plastic weed membrane, i.e., a layer of weed preventative plastic material. Imagine a rectangle about 1m in width and c.100m long. Inside this rectangle, every 1m, a hole was cut out of the plastic and a blueberry bush planted within. If you don’t protect weed membrane from the elements then the elements will just grow over the top of it. Over the last 15 years, the weed membrane has completely disappeared under grass.
Oh, my GOODNESS… the dedication it will take to do this. Sounds utterly back-breaking. If only random young people had to do some Community Service…